Guides
Part of Desk noise test: five stages, from vocabulary to a repeatable record
Setting up a desk noise test: what the work involves, explained properly
Setting up a desk noise: where to put the microphone, how long to record, and the setup errors that make two readings incomparable. A practical setup you can repeat.
The setup is where a noise test succeeds or fails. Nothing about the arithmetic afterwards can rescue a microphone in the wrong place. This is the physical work, in order. A microphone in the wrong place is the same problem a lease creates when it caps how loud your silent keyboard switches can be.
What to take away
- Position matters more than the instrument. A meter in the wrong place is precisely wrong.
- Hold the recording position fixed between the before and after readings, to the centimeter.
- Record for a set period and take an average, never a peak.
- A phone microphone is a real instrument with real limits, and the limits are in the hardware.
Where the microphone goes
- At the listener's head height, in the listener's normal position.
- Not on the desk, which couples it to the surface you are testing.
- Not in your hand, which adds movement and reflections.
- Away from walls and corners by at least half a meter, because both raise low-frequency readings.
- On something soft if it must rest on a surface.
Mark the position with tape. You will need exactly the same spot in a week.
How long to record
Type continuously for at least 60 seconds; two or three minutes is better. Short samples are dominated by whatever happened in them.
Take at least two runs on different days, because a single run can be ruined by traffic, an appliance, or a neighbor you did not notice at the time. A fixed recording position and a set period match the conditions a home test of a silent workspace change needs.
What a phone is actually doing
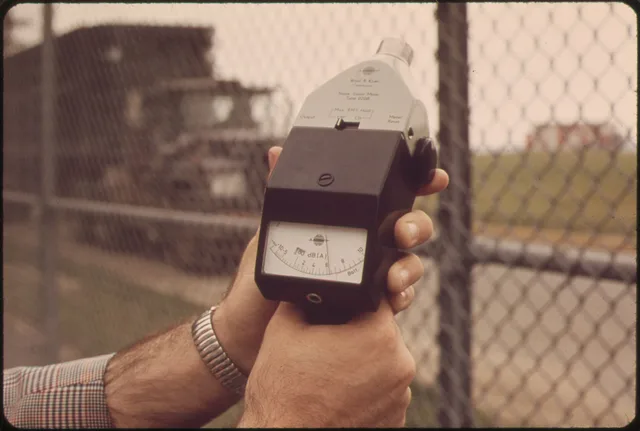
Research proposing smartphones as environmental noise sensing units works through the sound capture and processing stages that sit between the microphone and the number on screen: the built-in microphone, the device's audio path, the app's calculation. Two phones differ at each stage.
Comparing your reading to someone else's phone is meaningless. Comparing your phone to itself in the same spot is not.
How big a difference has to be to matter
Not every worthwhile change shows up as a big number. The decibel scale is logarithmic and built around perception.
A Georgia State University physics reference on the decibel scale explains that the definition's factor of ten exists partly because roughly 1 decibel is the just noticeable difference in sound intensity for a normal ear.
Perceived loudness needs a much larger change in intensity.
Two consequences follow. A one decibel improvement is not worth spending money on. A three decibel improvement is real but modest, and a listener may not call it much quieter.
The setup checklist
- Close the room to its normal state and let it settle for a minute.
- Mark the microphone position with tape.
- Note the time, the weather, and everything running.
- Record silence for thirty seconds to capture the background.
- Record the typing for at least sixty seconds.
- Repeat the whole sequence after the change, with nothing else altered.
Step four is the one people skip and the one that explains most confusing results. If the background moved, the comparison is invalid.
After the setup
Once the routine exists it takes ten minutes and can be repeated for years. The full sequence around it is in what happens at each stage, and the wider question of what to change first is covered in the planning guide.